Drawing inspiration from contemporary and wabi-sabi styles, she creates remarkable DIY interior design projects. Sustainability is one of her main values, as she promotes furniture reuse and upcycling to reduce environmental impact. While she humbly refrains from claiming expertise, her innovative design approach and aptitude for repurposing materials have earned her a devoted social media following. Read our interview with Jenn Liu and learn about her sustainable design philosophy, favorite materials, and tips for creating stylish and ergonomic home offices.

Professionally, you work as a quality engineer, while on social media, you’re most known as a DIY expert in the field of interior design. How did it all begin?
My DIY journey started when we bought our first home in 2021. There were a few things I wanted to change, but we didn't have the budget to hire contractors for everything, especially as the price quoted for each project was so high. So, in the beginning, my husband and I started to tackle a few small projects together, but over time, I got tired of waiting to start only when we were both available, so I started doing them on my own, learning from YouTube along the way. And that is how it all began! Not sure if I’m an expert yet, but I definitely have learned a lot on this journey so far!
Could you share some of your favorite interior design styles and what draws you to them?
Some of my favorite interior design styles are contemporary and wabi-sabi, so for our own home, I draw inspiration from both! I like the open floor plans, clean lines, neutral color schemes, minimalist vibes, and the mix of textures and materials that are seen in contemporary style. I love layering in lots of natural materials like wood and rattan, painting our walls with limewash paint, incorporating an earthy color palette, using furniture or decor pieces that are aged, imperfect, or irregular in shape, all of which are characteristics of wabi-sabi style.
What’s your approach to sustainability and responsible design, and how do you incorporate these principles into your DIY projects?
One of the main ways I incorporate sustainability into my DIY projects is by reusing and upcycling furniture. Instead of buying new furniture, I sometimes look for second-hand items that can be repurposed into something new and beautiful. One of my favorite types of projects are IKEA flips because not only are there many second-hand IKEA products online to choose from, but many people also have IKEA furniture in their homes. I hope that through sharing my projects online, I can inspire others to also take on similar projects and reuse, upcycle and breathe new life into their furniture!
In my projects, I also try to use sturdy construction techniques and relatively good quality material, so that my furniture is durable and can last for as long as possible!

When sourcing materials for your projects, what factors do you consider?
Quality is a big factor. I try to select good quality materials so that my projects not only look good but also last a long time. I also try to get supplies and products from reputable brands wherever possible as it gives me more confidence in the reliability and consistency of the materials. Lastly, I take into account practical considerations such as availability, cost-effectiveness, and compatibility with the overall design vision.
What are your favorite materials to work with, and why do you enjoy using them in your designs?
I love working with wood the most because of its versatility. From accent walls to large furniture pieces, it can be used in a wide range of projects. Wood is easy to work with; it can be cut, drilled, carved, and shaped with ease, and it adds natural warmth and character to any space. Additionally, it's very durable and making repairs is relatively easy if it gets damaged.
I also like working with other natural materials like rattan and burlap as it pairs beautifully with wood by helping to add additional details, textures, and character.
Can you offer some tips for designing a stylish, ergonomic, and functional home office, particularly for individuals who may be working remotely more frequently?
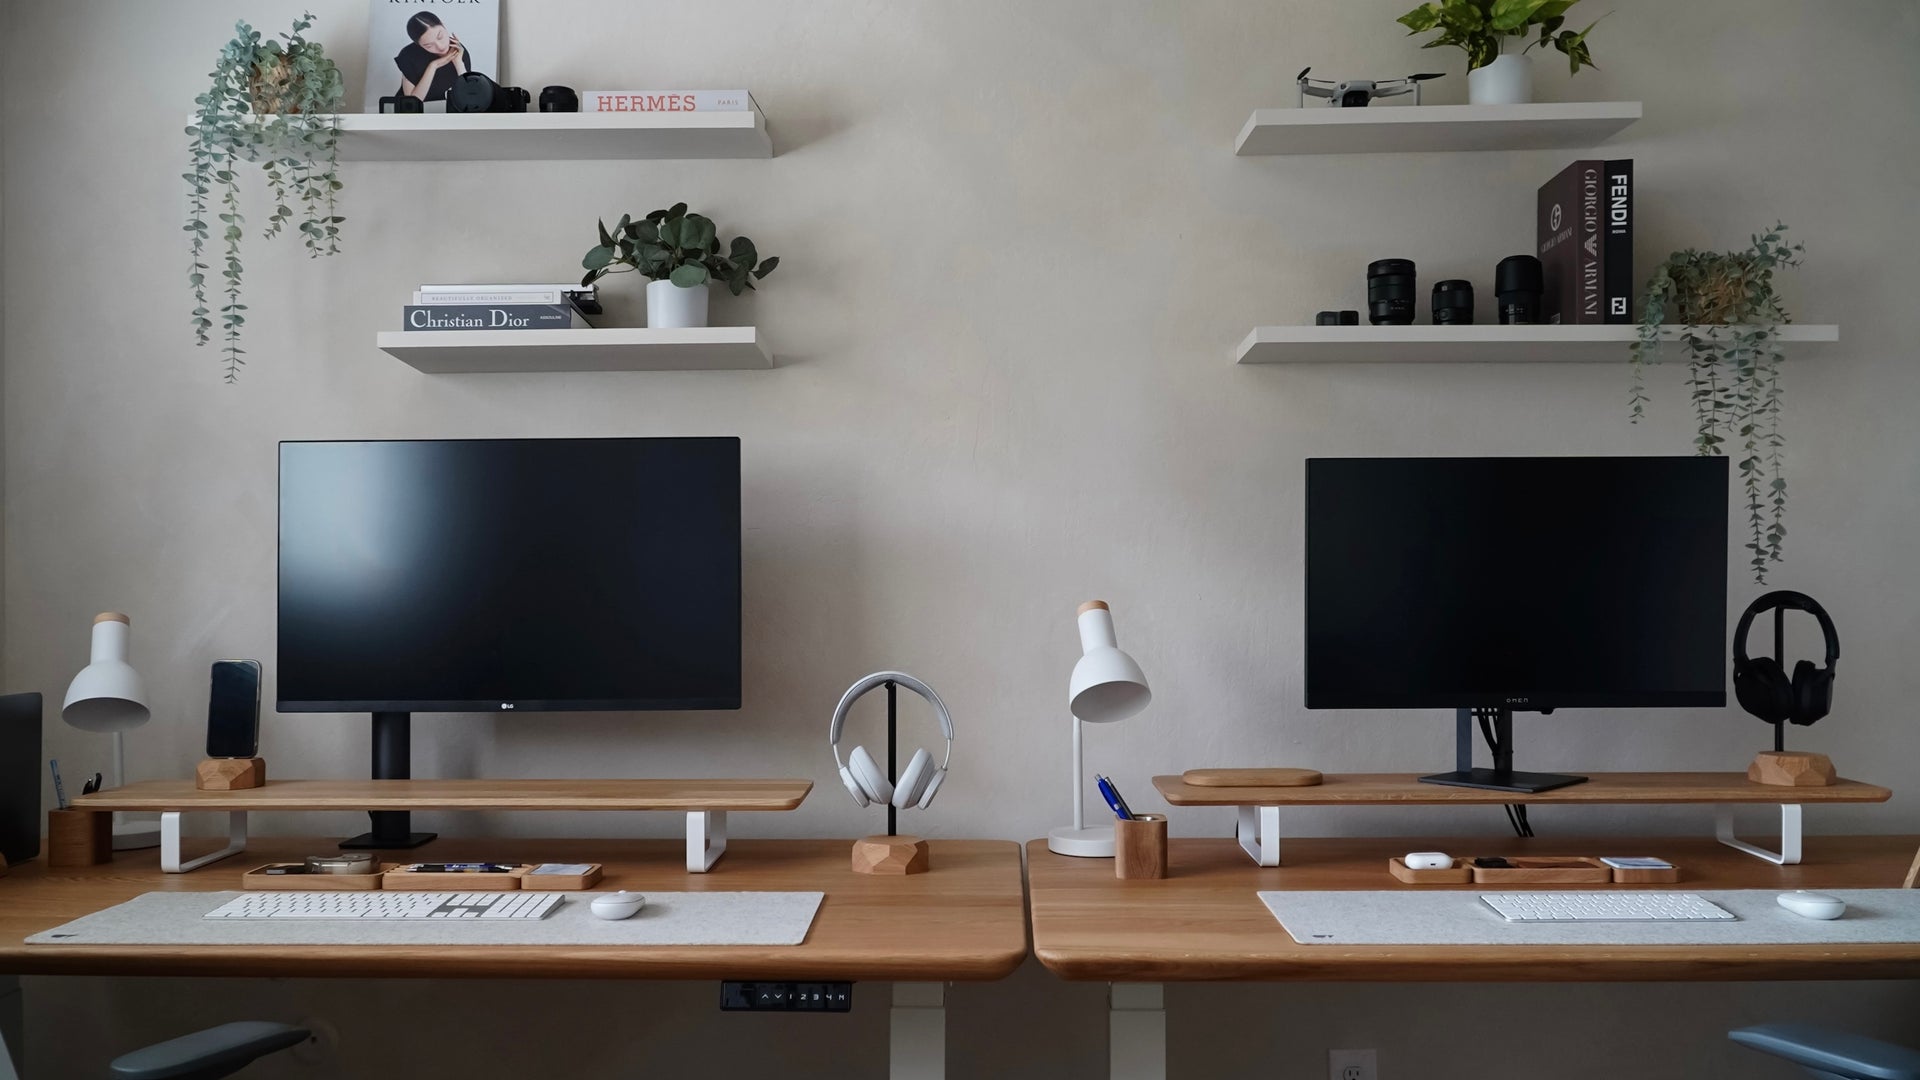
Definitely start off by choosing the right space. Ideally, it should be away from distractions and have either natural light or good lighting. Good lighting is important because this helps to reduce eye strain and I feel that it helps to boost mood and enhance focus. So try to position your desk near a window if possible, to maximize natural light, and also utilize desk lamps and overhead light to illuminate your workspace effectively.
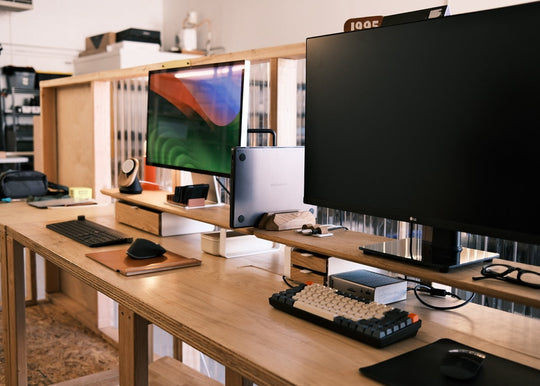
As you will be spending a good portion of your day there, invest in a good quality desk and chair. Choose an ergonomic chair that provides good support for your back, arms, and legs, and pick a desk that suits your working style and storage needs. Also consider adding ergonomic accessories like a monitor stand, keyboard, or an adjustable desk to customize your setup further.
To minimize distractions and improve efficiency, find ways to declutter and organize the items on your desk. For example, use shelves, add storage trays or drawers. Also, consider cable management solutions to keep cords organized, tidy and out of the way.
In terms of aesthetics, the desk and chair will be the center pieces of your office setup, so choose desk and chairs that suit the color theme of your home. I find that keeping the color choices to 3 for the big items, is a good way to help make it look more clean and put together. Also remember to personalize your space by adding decor pieces that reflect your personality and helps make your space feel more inviting and inspiring. For example, add plants, artwork, or decorative items.

How do you balance your work as a quality engineer with your passion for DIY interior design? Are there any overlaps or skills that transfer between the two roles?
It’s hard balancing the two, and I always wish I could do a better job at it. Sometimes I go through really busy periods at work, which means I don’t have much time to do my DIY projects and create content. But when things are more calm at work, I try to edit content during week nights wherever possible, and do new projects on weekends. This year, I’m also trying to prioritize spending time with family and friends a little more than last year because I realized I was always cramming everyday with work, DIY content editing and doing new projects and I wasn't allocating enough time to just rest, relax and have fun (which is very important!).
In terms of if there are any overlapping skills, yes, I think there are a few. Both roles require being attentive to detail - eg: in my work, we often have to analyze a lot of data in order to identify trends or issues and think carefully and comprehensively through solutions that can be successfully deployed to suppliers/ manufacturers, and end customers, versus as a DIYer, I need to ensure I measure precise dimensions, precise cuts, ensure proper alignment of things.
Both roles also require being a problem solver, being able to think analytically and finding creative solutions to challenges - eg: in my work, we often have to evaluate different solutions, review complex root cause analysis, and come up with a good solutions, versus as a DIYer, I need to brainstorm different solutions to fix the issue I’m facing.
Both roles also require continuous learning and a drive to look for ways to improve products/ processes- eg: in my work, we are often faced with a wide array of quality issues, sometimes it’s software related, sometimes it’s mechanical, sometimes it’s electrical. So I often have to learn new concepts in order to understand the issue we are solving. We are also constantly evaluating and thinking about ways to improve processes and products to enhance quality and efficiency. As a DIYer, it’s pretty similar. Through each project, I need to research online and learn new skills and I’m always looking for new techniques and skills to improve my projects.
Could you share some of your favorite Oakywood products and how they've enhanced your productivity and efficiency, both at work and in your daily life?
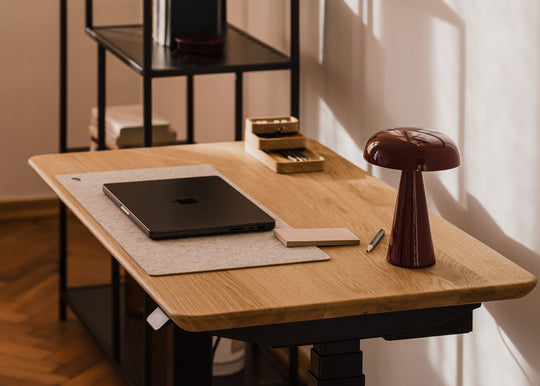
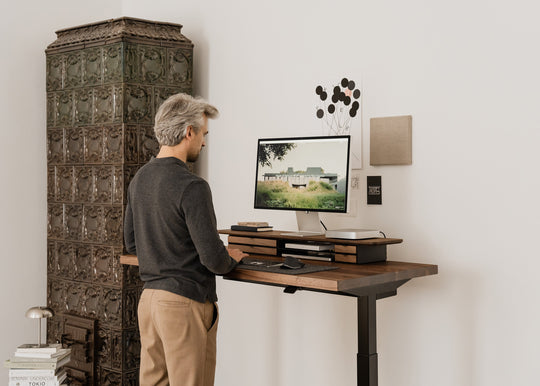
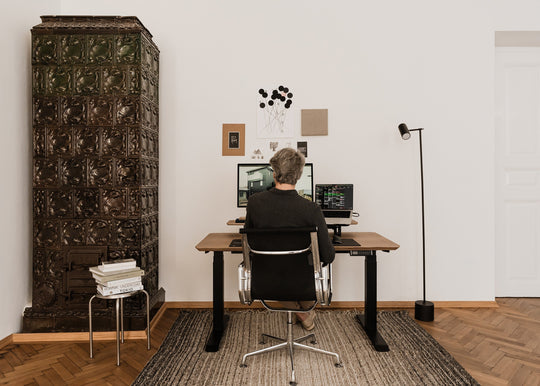
My favourite Oakywood products is the Standing Desk. I am often at my desk for long hours, so having the flexibility to switch between sitting and standing helps me to have better circulation and comfort and also helps me feel more alert and energized. I also love the Desk Shelves. They help me elevate my monitor to an ergonomic position, and they also provide more storage space underneath. I also love the desk organization products like the trays and chargers. Lastly, as a person who admires well built wood furniture, I really love how beautiful, well designed and well made all the Oakywood products are.
Could you share some tips on wood renovation? How do you care for natural wood to extend its longevity?
I mainly do 2 types of projects. I build furniture like coffee tables, built-in bookshelves and benches or I upcycle existing furniture, such as IKEA Malm or Rast dressers and Kallax shelves. For both types of projects, caring for wood to extend its longevity is very important.
Here are a few tips. Once the project is complete, always apply protective finishes such as polyurethane or stains to help seal and protect the natural wood from moisture, stains, and wear. In terms of storage, place the furniture away from direct sunlight as it can fade and damage wood finishes over time and avoid placing it directly in contact with water or humid environments because moisture can cause swelling, warping, and sometimes even mold growth. Always use coasters under cups to prevent water rings and spills too.
In terms of maintenance, clean the wood furniture regularly to remove accumulated dust and dirt, and if a more thorough clean is needed, use mild, pH-neutral cleaners that are diluted with water. Before using, test the solution in small areas behind or under the furniture. Also, regularly inspect the wood furniture for any signs of damage or wear so you can address any issues early on and prevent further damage. You can use wood glue to glue parts back or use wood filler to fill-in the cracks. If there are more severe structural damages, you can replace damaged sections, or reinforce weak joints or areas.

Have you carried out some DIY projects involving saving old wood furniture? Feel free to give us as many details as you want :) We are so super curious about your tips!
Yes, most of my projects involving saving old furniture are IKEA projects. For these types of projects, I have a few tips. Before you start the project, remember to use appropriate solvents or cleaners to remove any dirt or grime from the wood surface. This helps to reveal the condition of the wood and ensures better adhesion of new finishes. Then check if there are any damages or structural issues to the wood and fix accordingly. After repair, sand the areas smooth starting with a coarse grit and paper like 100 grit and work your way up to around 240 grit.
Next, add in a bit of creativity! Most of the furniture you save are generally older or more basic, plain pieces, so find some ideas online on more modern furniture, take inspiration from them and add to your existing piece. For example, you can make use of wooden dowels, or other materials like rattan and burlap to create interesting details to dresser drawers, or you can add legs to make dressers look less bulky. If you are trying to salvage a bookcase or shelving, you can consider making a wooden door and adding it to the bookcase or shelf to make it into a cabinet. The options are endless!
Once the design improvements have been made, you can then move on to the finishes. If the wood is solid wood and still in good condition, use polyurethane or stains to update the color and to protect the wood. If there were some repairs done, then consider options like paint. If painting IKEA laminate or veneer furniture, remember to use a shellac-based primer as it helps the subsequent paint to adhere better and not peel or scratch off after use. Mixing areas that are painted with areas that are stained also looks great on your furniture! Lastly, throughout your DIY project, try to use good material and sturdy construction methods to help ensure your newly flipped furniture will not only look beautiful but will also last a long time!
Finally, what advice would you give to aspiring DIY enthusiasts or content creators looking to share their passion with others online?
My biggest advice would be to just START! Many people are interested in home DIY and content creation but feel they aren’t ready to start, aren’t good enough to share their skills yet to others or don’t want friends and family to see them start a content creation journey as they feel shy. Don’t overthink it, and just start the process off by simply thinking about it as you, sharing your passions and what you love doing.
Don’t worry about creating perfect content either. It’s ok if your project encounters challenges, or if mistakes happen, they're all part of the learning process, so just embrace them, learn from them, and keep improving with each project. Don’t worry about what others will think too. There will always be people out there who are more skilled than you, or you may share your approach to making something that's different to what other people do. That’s ok. People on the internet are generally nicer than you think. In my social media pages, I’ve met wonderful, supportive DIY friends who always encourage me along the way and share their tips with me when I’m stumped or stuck on a project.
I think once you start, you will start to learn what works and what doesn’t. You’ll also learn what type of content people are more interested in and what content you like creating more. Try to find a good balance between the 2 and just have fun! You won’t regret starting.
